3 Tips for Efficiency and Safety in Circuit Testing with Thermal Imaging
Circuit testing is a crucial aspect of various industries, ensuring the functionality and reliability of electrical systems. In this era of advanced technology, thermal imaging has emerged as a game-changer in the realm of circuit testing. This article dives into the world of thermal imaging, offering three indispensable tips to enhance efficiency and safety during circuit testing.
Understanding Thermal Imaging in Circuit Testing
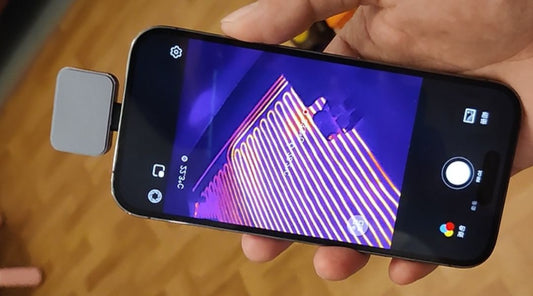
Thermal imaging, often referred to as infrared thermography, is a non-invasive technique that visualizes temperature variations across surfaces. It works on the principle that all objects emit infrared radiation, and these emissions are translated into a thermal image. In circuit testing, a thermal camera allows engineers to identify temperature anomalies, overheating components, and potential faults that may otherwise remain hidden.

3 Tips for Maximizing Efficiency in Circuit Testing with Thermal Imaging
A. Proper Preparation and Setup
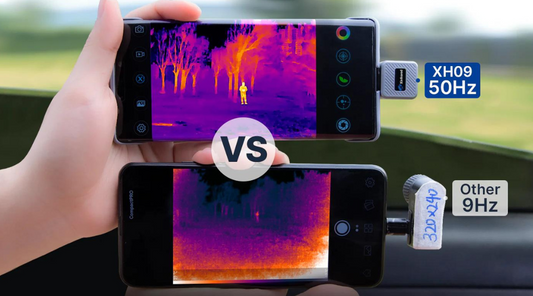
- Choose the Right Equipment: The foundation of successful thermal imaging lies in selecting the appropriate camera. Opt for a high-resolution thermal camera that suits the complexity of the circuit system you're testing. This ensures accurate and detailed temperature readings.
- Clean and Clear Environment: Before starting the testing process, ensure that the circuit components and their surrounding areas are clean and free from any obstructions. Dust or debris can interfere with accurate readings, potentially leading to incorrect assessments.
B. Strategic Testing Techniques
- Sequential Scanning: A systematic approach to thermal cameras involves sequentially scanning different areas of the circuit. This method simplifies anomaly detection and helps in identifying temperature variations across the system.
- Load Variation Testing: To understand the thermal behavior of a circuit, perform tests under varying load conditions. Observing how temperature patterns change with different loads provides valuable insights into the circuit's operational performance.
- Dynamic Monitoring: Real-time monitoring during circuit operation unveils transient thermal events that might not be captured during static testing. This dynamic approach aids in identifying intermittent issues that could go unnoticed otherwise.

C. Ensuring Safety During Circuit Testing with Thermal Imaging
- Personal Protective Equipment (PPE): When working with electrical systems, wearing appropriate PPE such as insulated gloves and goggles is imperative. These protective measures shield you from accidental contact with live components.
- Maintain Safe Distances: While scanning live circuits, maintain a safe distance to prevent any inadvertent contact. This precaution minimizes the risk of accidents and injuries.

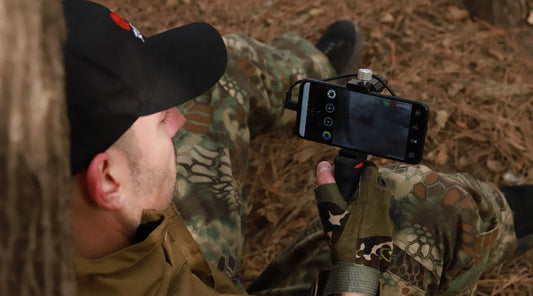
Non-contact detection of circuit problems with thermal cameras greatly improves safety.
Data Interpretation and Analysis
- Seek Professional Expertise: Interpreting thermal images requires expertise. Consult with experienced professionals who can accurately analyze the data and identify potential issues.
- Temperature Thresholds: Different circuit components have distinct temperature limits. Familiarize yourself with these thresholds to distinguish between normal and abnormal temperature readings.
- Contextual Analysis: Consider environmental factors that might influence thermal readings. Ambient temperature, humidity, and airflow can impact the accuracy of your interpretations. Find free analysis software here!
Incorporating thermal imaging cameras into your circuit testing procedures can revolutionize how you approach system diagnostics. By following the tips outlined in this article, you can maximize testing efficiency, improve safety measures, and uncover potential faults that traditional methods might overlook. Embrace the power of thermal imaging and elevate your circuit testing to new heights of precision and reliability.


